

 This is how the applet should look like if everything is ok. The top led is green and both channel
indicators are off. If there's an error, the top led will be red.
 This is how the applet looks if there's a call ongoing. The top led is green and one channel led is on.
 The applet with both channels on and the popup window showing incoming and outgoing calls. The outgoing
call has the running costs to it.
 On the top of the window you will find the menu bar (File, Edit, Tools, Settings and Help).
 In the textbox below the "Search for:"
string you can enter the text you're searching for. "In column" you can choose the row. Check "Exact match"
if you want to search for the string as it is. For example, if you're looking for "Peter" but not
for "Peter Pan" you should check "Exact match". "Case sensitive" should be checked if you want the
search routine to consider upper and lower cases, "Peter" isn't "peter". "Is empty" is true if the
entry has no data on the selected row, the opposite is true for "Is not empty".

|

|

|
| This will be shown if the entry has no addressee assigned to it. | This will be shown if there's an addressee assigned to the entry. | This will be shown if a voice message is attached to the entry and it has an addresse assigned to it. |
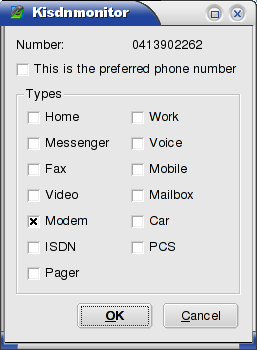
 Here you can choose to which category the phone nuber belongs and if it's the preferred number
of the addressee, the next window will be kaddressbook's address dialog, where you can set the
addresse(s), phone numbers, name, homepage, etc... of the addressee.
 Here you can choose to which addressee the phone number will be assigned. Click on the desired
entry. The next dialog that will popup is the one described in "Adding a new entry to the addressbook".


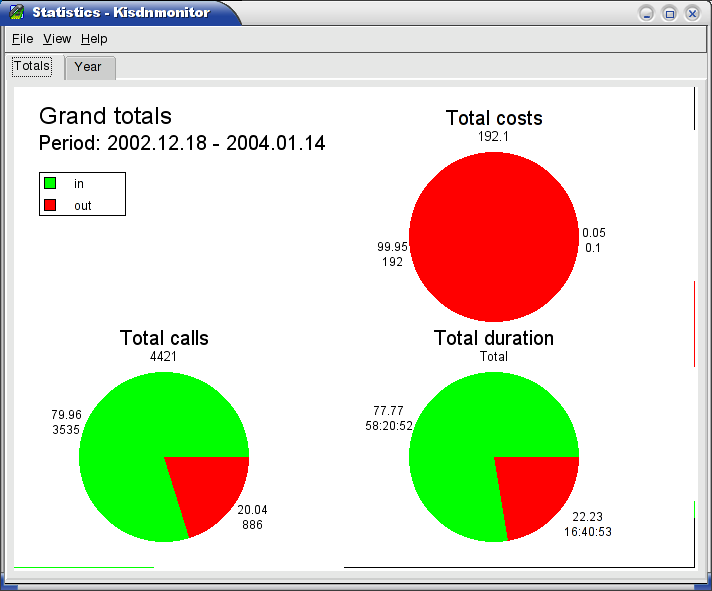
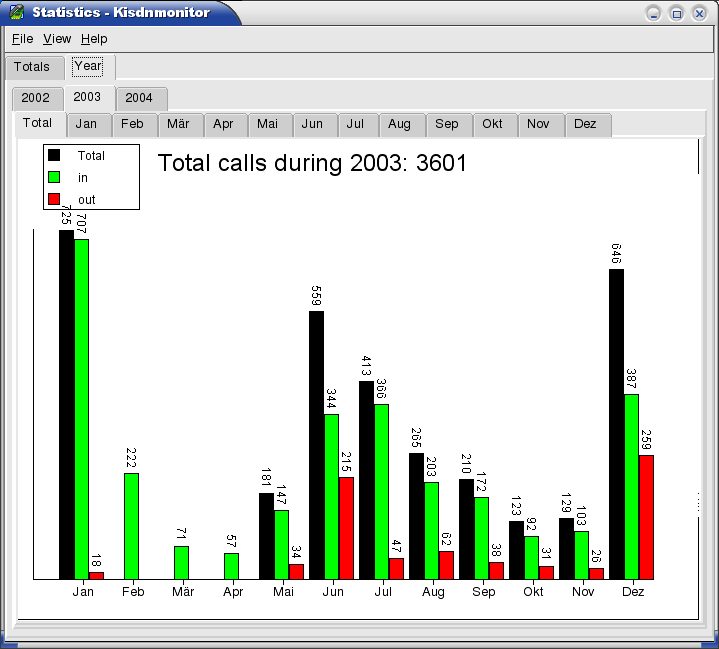
 All graphs are sorted by the direction ("in" or "out") of the recorded calls.
| previous page | Top | next page |